Why Setting Up Your Own Wi-Fi is Easier Than You Think
If you’ve always assumed that setting up Wi-Fi requires calling in a tech guru, it’s time to rethink. Today’s routers and modems are designed with simple plug-and-play features and user-friendly setup wizards, making it possible for even the least tech-savvy among us to be online in under an hour.
Doing it yourself also has several benefits:
Save Money – Avoid costly installation fees charged by internet service providers.
Gain Control – Decide exactly how your network is named, who can connect, and how secure it is.
Learn Troubleshooting Skills – Once you know the basics, you can fix common issues without waiting for a technician.
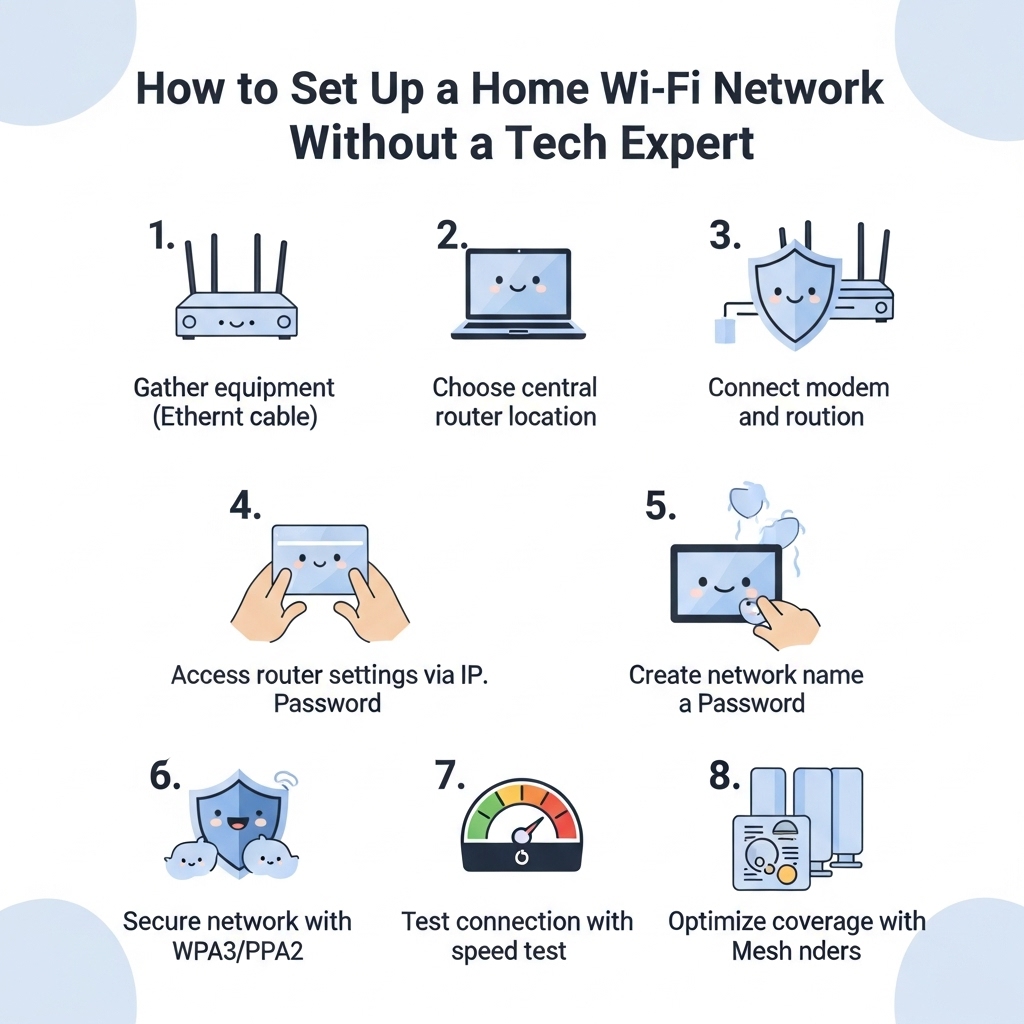
Step 1 – Gather Your Equipment
Before you begin, ensure you have everything ready. You’ll typically need:
Modem – This connects directly to your internet service provider’s network.
Wireless Router – This sends Wi-Fi signals to your devices. Some modems have a built-in router, called a gateway.
Ethernet Cable – Used to connect the modem to the router.
Power Cables – For both the modem and router.
Pro Tip: If your home internet comes through a coaxial cable (cable internet), you’ll also need a coax cable; for DSL, you’ll need a phone line.
Step 2 – Choose the Right Location for Your Router
Router placement matters more than you might think. A poorly placed router can result in dead zones where your Wi-Fi signal struggles.
Place it centrally in your home to spread coverage evenly.
Keep it elevated, like on a shelf or table—signals travel outward and slightly downward.
Avoid areas near microwaves, cordless phones, metal objects, or thick concrete walls, which can block or weaken signals.
Step 3 – Connect Your Modem and Router
Once you’ve chosen the location:
Connect the Modem – Plug it into your internet outlet (coaxial or phone jack).
Connect Modem to Router – Use an Ethernet cable from the modem’s output port to the router’s WAN or Internet port.
Power Up – Plug in both devices and switch them on. Wait a minute or two for them to fully boot.
Step 4 – Access Your Router’s Settings
To personalize and secure your Wi-Fi, you’ll need to log in to your router:
On a device connected to the router (via Ethernet or default Wi-Fi), open a web browser.
Type in the router’s IP address—usually 192.168.1.1 or 192.168.0.1 (check the manual).
Enter the default username and password found on the router’s sticker or in its manual.
Step 5 – Set Up Your Wi-Fi Network Name and Password
This is your chance to make your network yours:
Network Name (SSID) – Keep it simple but not personal (avoid your name or address). Examples: HomeBase, ByteMe, or The LAN Before Time.
Password – Use at least 12 characters, mixing upper and lower case letters, numbers, and symbols. Avoid easy guesses like “12345678” or “password”.
Step 6 – Secure Your Network
Leaving your Wi-Fi open is like leaving your front door unlocked.
Use WPA3 security if your router supports it; otherwise, select WPA2—both offer strong encryption.
Set up a guest network for visitors so they can connect without accessing your main devices.
Disable remote management unless you specifically need it.
Step 7 – Test Your Connection
Once configured, check your speeds and coverage:
Visit Speedtest.net or use the Speedtest app to measure download and upload speeds.
Walk through different rooms with a smartphone to check for weak spots.
Step 8 – Optimize for Speed and Coverage
If your Wi-Fi feels sluggish or patchy:
Switch to a less crowded channel in your router settings (especially in apartment buildings).
Use mesh Wi-Fi systems for large homes—these create a seamless network with multiple access points.
Add a Wi-Fi extender for dead zones in hard-to-reach areas.
Troubleshooting Common Issues
Even with a perfect setup, hiccups happen:
No Internet – Restart modem and router, check cables, verify service with your ISP.
Weak Signal – Move the router to a better location, remove interference, or upgrade to mesh Wi-Fi.
Frequent Drops – Update firmware and ensure the router isn’t overheating.
Maintenance and Updates
Your network will work best if you keep it updated:
Firmware Updates – These improve performance and security; check every 2–3 months.
Password Changes – Update at least annually or after multiple new devices connect.
Regular Reboots – Restart your router every month or so to clear temporary bugs.
FAQs
1. Can I use my own router with my ISP? Yes—just make sure it’s compatible with your internet service type.
2. How long does setup take? Usually 15–30 minutes, even for beginners.
3. Is mesh Wi-Fi better than a single router? For larger homes or multiple floors, mesh Wi-Fi provides better and more consistent coverage.
Conclusion: Internet Freedom Without the Tech Stress
Setting up your own Wi-Fi network is a confidence booster—it’s fast, straightforward, and puts you in control of your connection. With the right equipment, careful placement, and a little patience, you’ll have a strong, secure, and speedy home network—without paying a tech expert to do it for you.